How to Create ERC-1155 Tokens
Learn how to create and deploy an ERC-1155 smart contract that is fungibility-agnostic and gas efficient.
You're probably aware of the two most common standards used to represent tokens on Ethereum:
- ERC-20: which standardizes fungible tokens (or currencies).
- ERC-721: which standardizes non-fungible tokens (or NFTs).
If you run even a remotely complex blockchain project (such as a game, NFT PFF collection, etc.), chances are you require both tokens and contracts to keep track of them. Additionally, ERC-721 NFTs have been associated with prohibitively high minting and batch transfer costs.

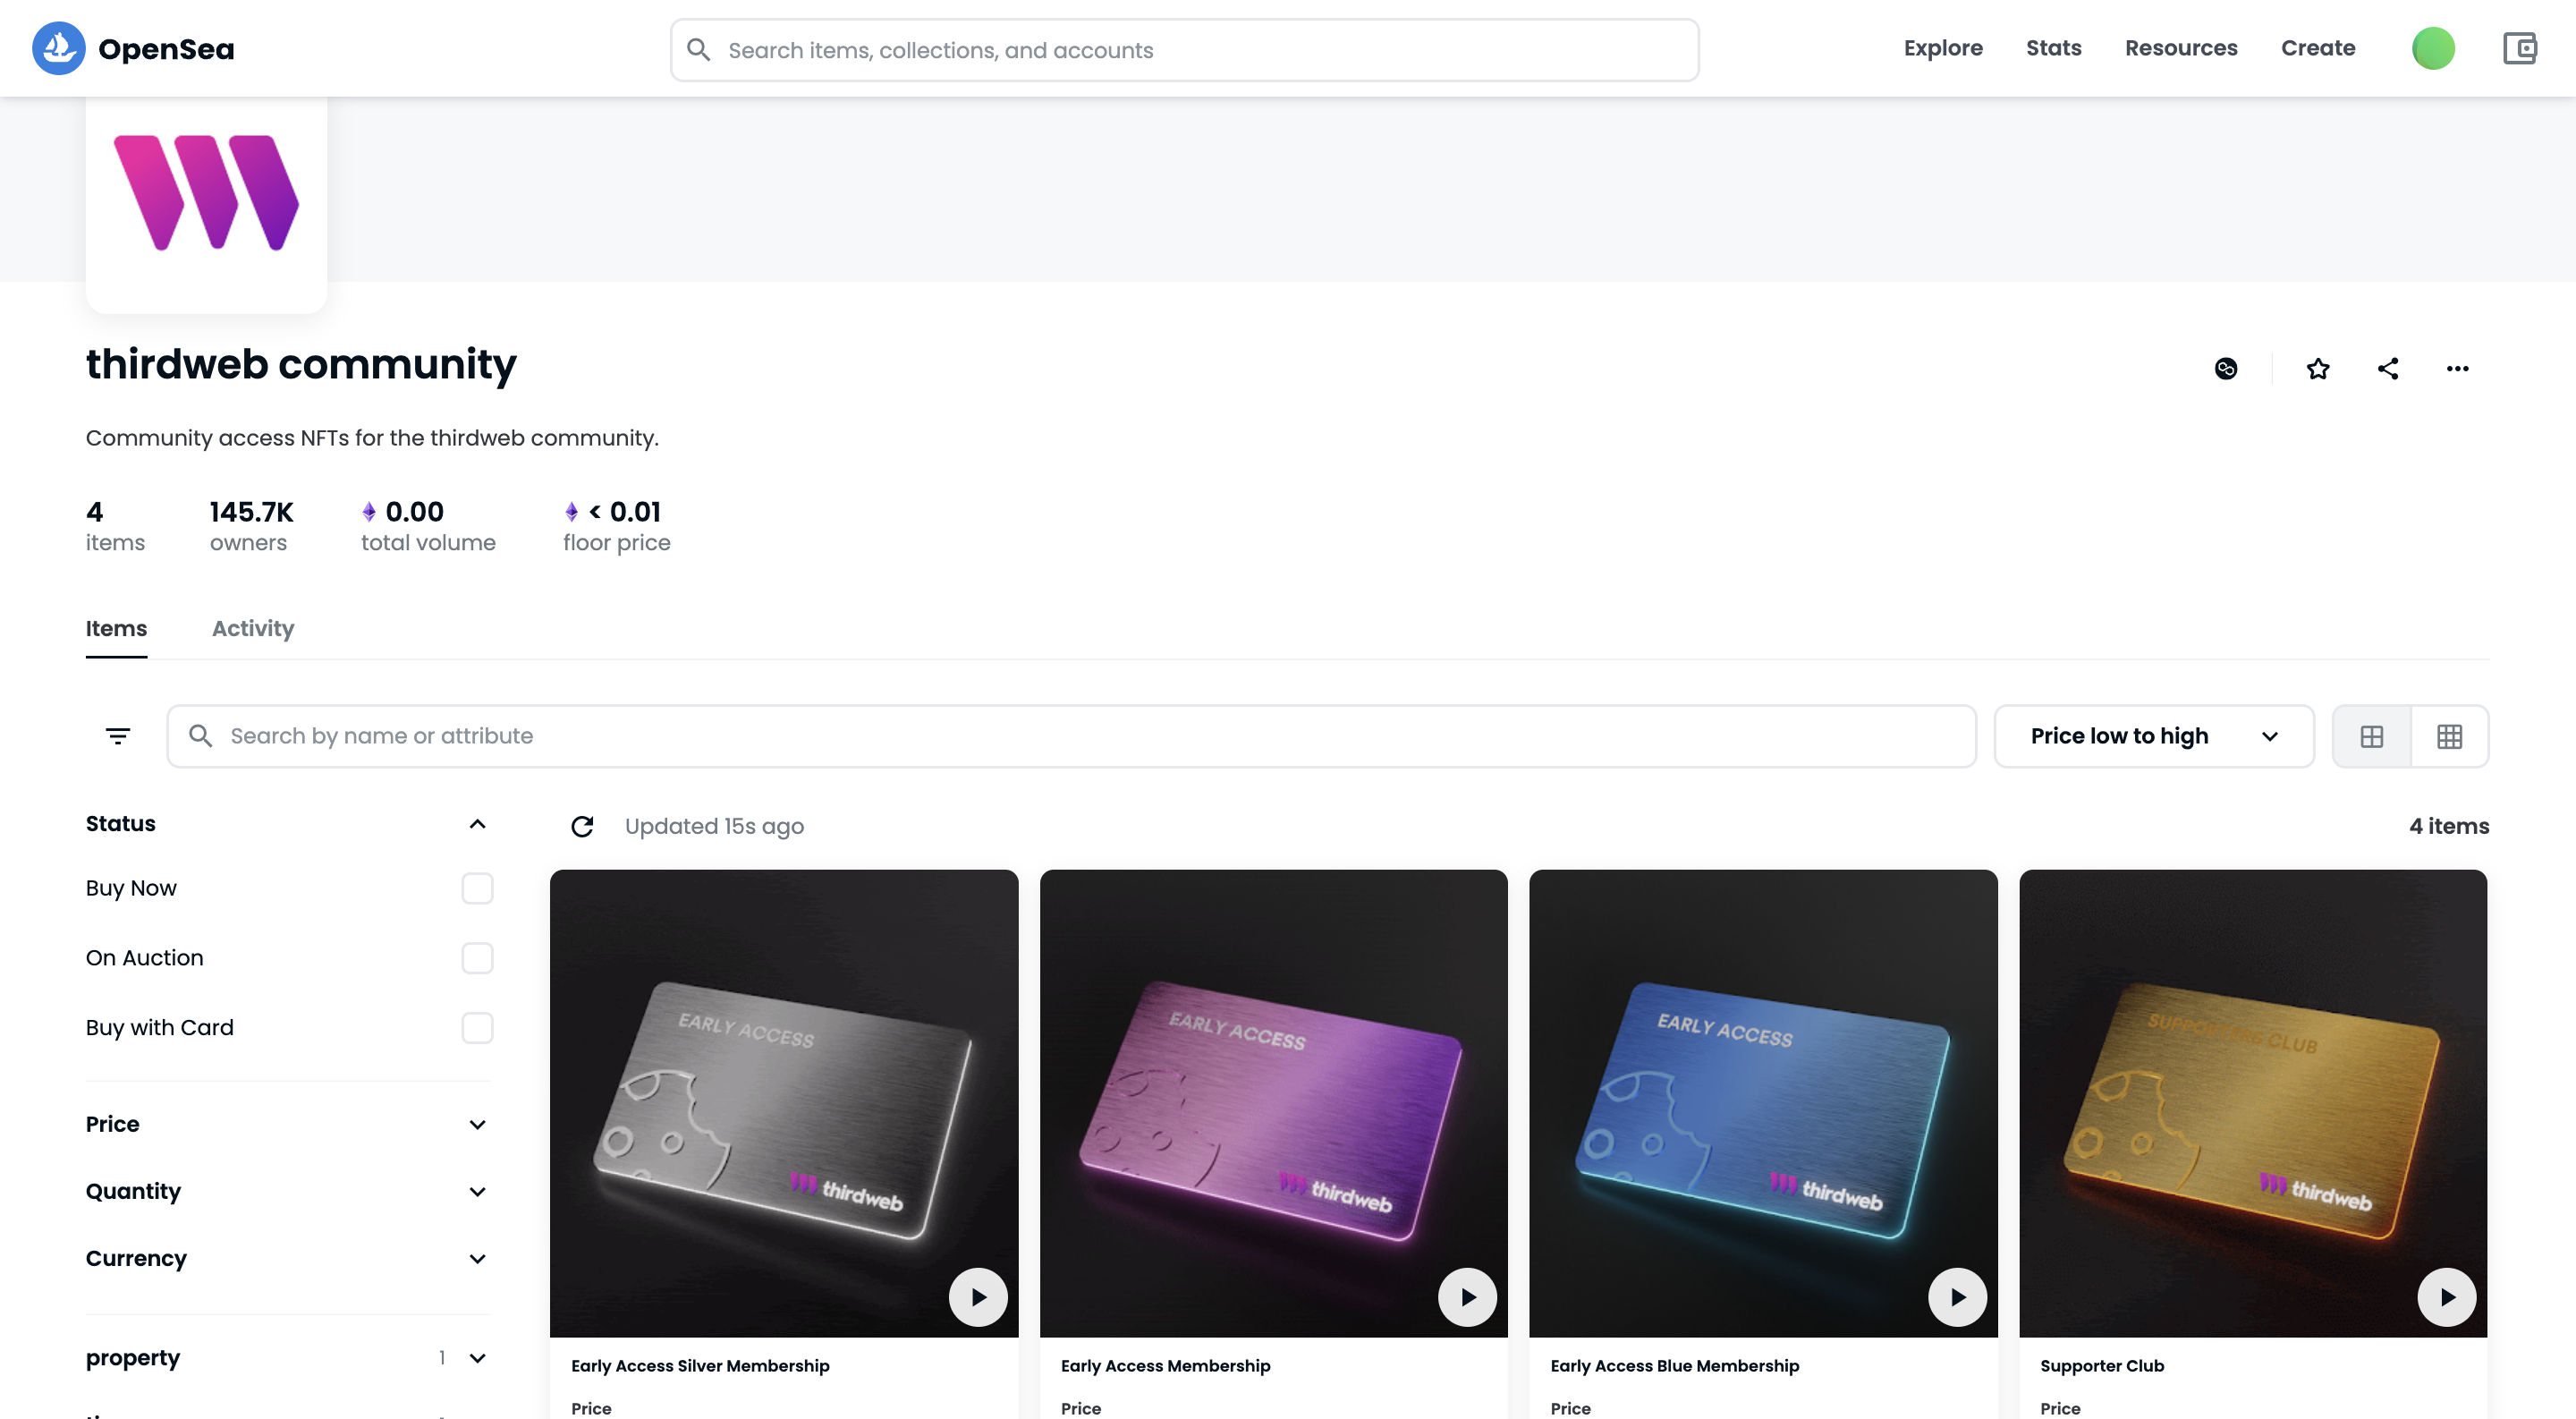
ERC-1155 NFTs by thirdweb
To combat these shortcomings, the Ethereum community developed a new standard called ERC-1155. This standard allows you to create fungible and non-fungible tokens using the same contract, significantly cutting down minting and transfer fees.
In this tutorial, you will write and deploy an ERC-1155 smart contract on the Goerli testnet using the following tools:
Don't worry if some of these terms don't make sense to you; we will explain it! But as always, if you have questions at any point, don't hesitate to reach out on the Alchemy Discord!
Setup your environment
Step 1: Install Node and npm
If you haven't already, install node and npm on your local machine.
Make sure that node is at least v14 or higher by typing the following in your terminal:
node -v
Step 2: Create an Alchemy app
You will need an Alchemy app and your app’s API key in this tutorial. To create one, check out this video or follow the instructions below:
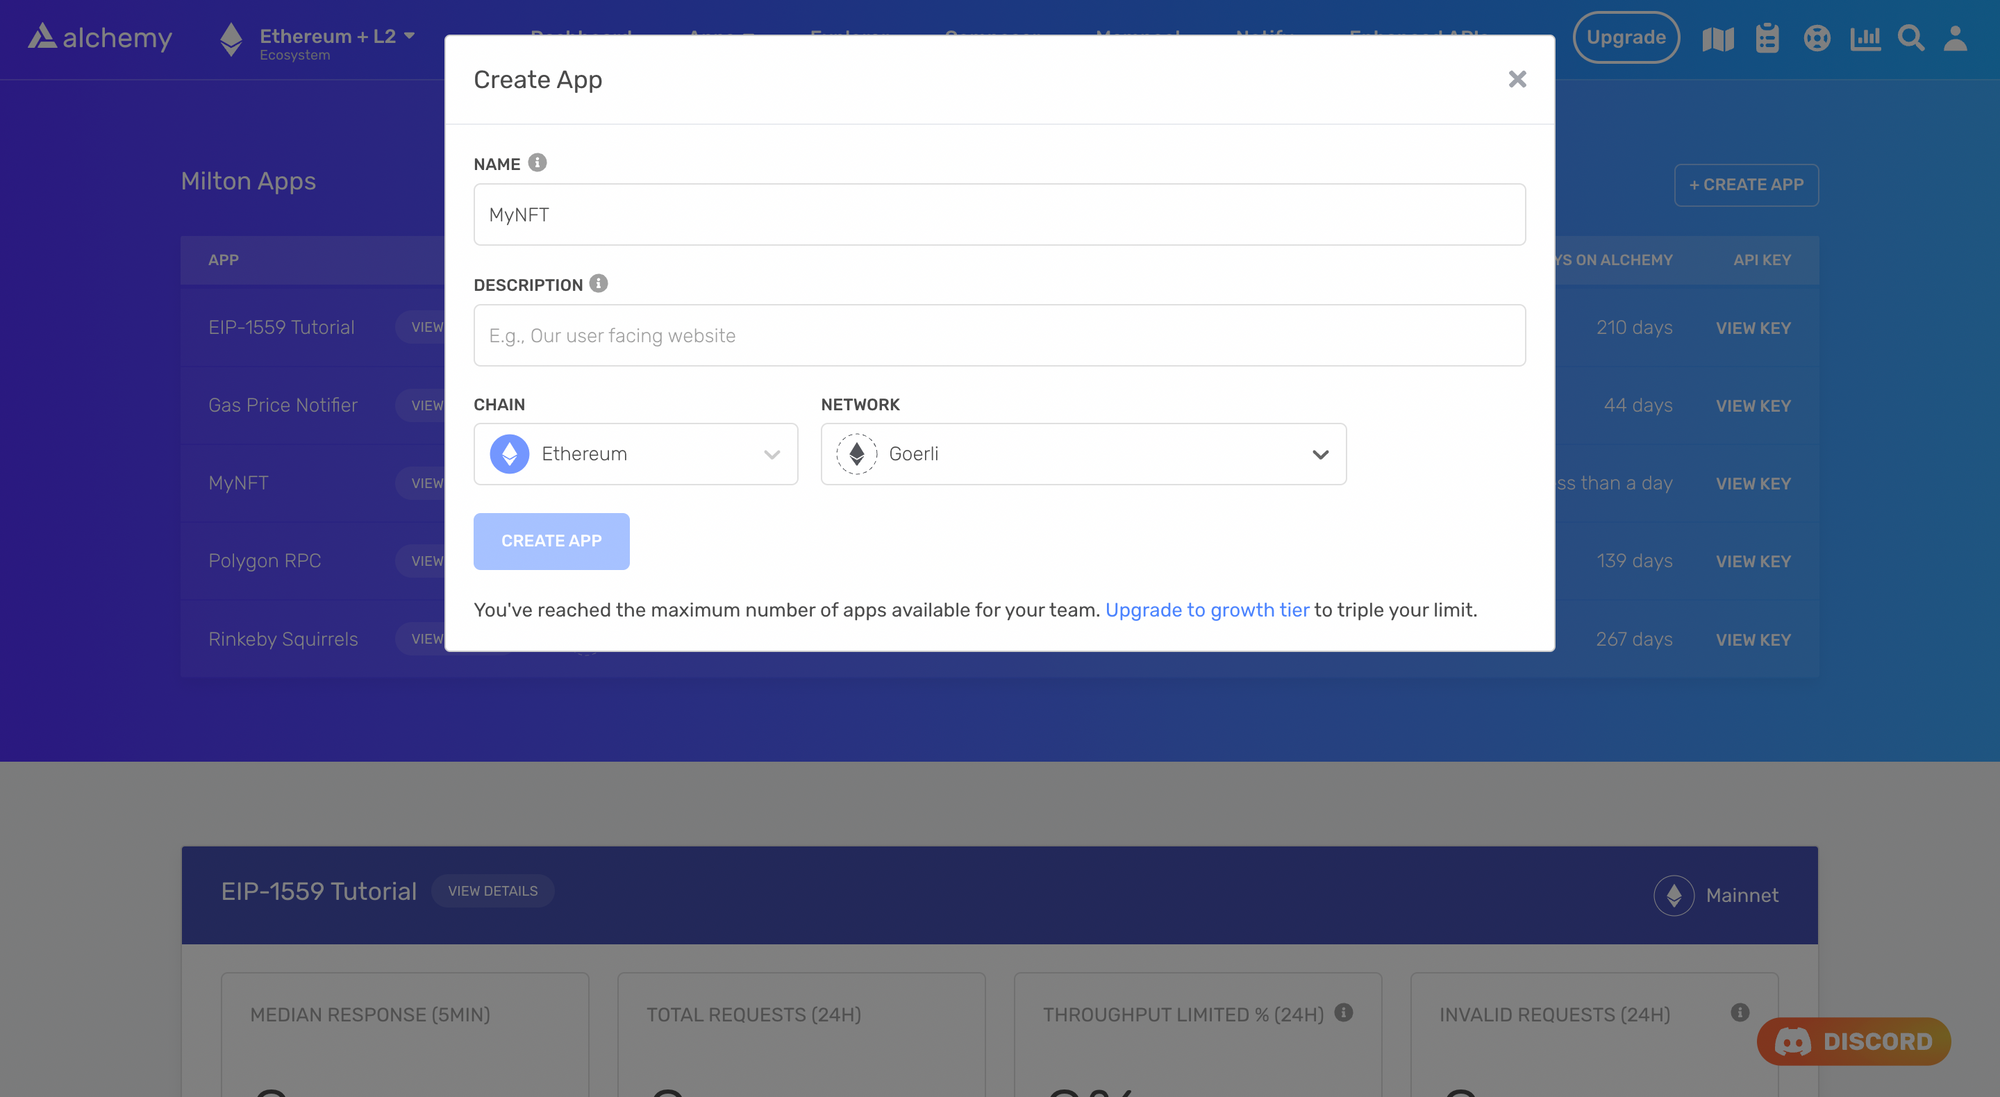
- From Alchemy's dashboard, hover over the Apps drop-down menu and choose Create App.
- Provide a Name and Description for your app.
- For Chain, select Ethereum and for Network, select Goerli.
- Click the Create App button.
- After creating your app, click on your app’s View Key button in the dashboard and save the HTTP key. You will use this later in the tutorial.

Create an Alchemy app
Step 3: Create a MetaMask Wallet
We need an Ethereum wallet to send and receive transactions. For this tutorial, we’ll use MetaMask, a virtual wallet in the browser. If you want to understand more about how transactions on Ethereum work, check out this page from the Ethereum foundation.
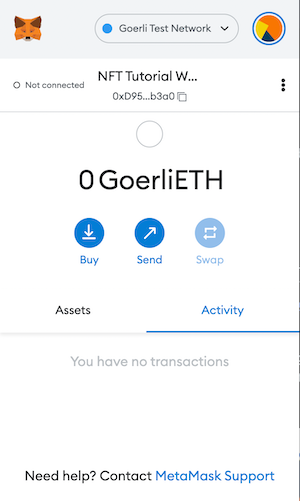
You can download and create a MetaMask account for free here. Once you have an account, make sure to switch to the “Goerli Test Network” in the upper right (so that we’re not dealing with real money).

MetaMask wallet
Step 4: Add GoerliETH from a Faucet
In order to deploy our smart contract to the test network, we’ll need some test GoerliETH. The easiest way to acquire this is by using Alchemy's Goerli faucet. Depending on traffic, the faucet may ask you to sign in with your Alchemy account. If all goes well, you should see your GoerliETH balance update on MetaMask.
Step 5: Create a Hardhat project
We're going to set up our project using Hardhat, the industry-standard development environment for Ethereum smart contracts. Additionally, we'll also install OpenZeppelin contracts.
To set up Hardhat, run the following commands in your terminal:
mkdir erc1155-contract && cd erc1155-contract
npm init -y
npm install --save-dev hardhat
npx hardhat
Choose Create a Javascript project from the menu and accept all defaults. To ensure everything is installed correctly, run the following command in your terminal:
npx hardhat test
To install OpenZeppelin, run the following commands in your terminal:
npm install @openzeppelin/contracts
Create your contract
Step 1: Write the smart contract
Now, let's write a smart contract that implements the assets in a game using tokens. Our game will consist of two fungible currencies (gold and silver), two fungible weapons (sword and shield), and one non-fungible crown.
Open the project in your favorite code editor (e.g., VS Code), and create a new file called AwesomeGame.sol in the contracts folder. Add the following code to this file:
// SPDX-License-Identifier: MIT
pragma solidity ^0.8.4;

import "@openzeppelin/contracts/token/ERC1155/ERC1155.sol";

contract AwesomeGame is ERC1155 {
    uint256 public constant GOLD = 0;
    uint256 public constant SILVER = 1;
    uint256 public constant SWORD = 2;
    uint256 public constant SHIELD = 3;
    uint256 public constant CROWN = 4;

    constructor() ERC1155("https://awesomegame.com/assets/{id}.json") {
        _mint(msg.sender, GOLD, 10**18, "");
        _mint(msg.sender, SILVER, 10**18, "");
        _mint(msg.sender, SWORD, 1000, "");
        _mint(msg.sender, SHIELD, 1000, "");
        _mint(msg.sender, CROWN, 1, "");
    }
}
Notice that we have minted fungible and non-fungible tokens from the same contract, which is impossible with ERC-20 and ERC-721.
Also, take note that we have passed a metadata URI to the ERC1155 constructor. Passing this metadata allows us to associate each token ID with NFT-like metadata, regardless of whether it is fungible or non-fungible.
Using an ERC-11155, we can, for example, associate a picture of a gold coin with the tokens associated with GOLD. This wouldn’t be possible had we implemented GOLD as a separate ERC-1155 contract.
Compile the contract and make sure everything is working by running the following command in your terminal:
npx hardhat compile
Caution: If your
contractsfolder contains another.solfile other thanAwesomeGame.sol, feel free to delete it or change it's Solidity version to match:pragma solidity ^0.8.4.
Step 2: Connect MetaMask and Alchemy to your project
Now that we've created a MetaMask wallet, an Alchemy account, and a smart contract, we can connect the three together. To do this, we’ll use the dotenv package.
- Install the
dotenvpack in your project directory by running the following command from your terminal:
npm install dotenv --save
- Create a
.envfile in the root directory of our project. Note: Your.envfile must only be named.env. Do not change the name to any formxx.env. - Add your MetaMask private key and HTTP Alchemy API Key (from Step 2: Create an Alchemy app) to your
.envfile.
For instructions on how to export your private key from your wallet, see MetaMask’s documentation How to export an account's private key. - Your
.envfile should look like the following:
API_URL = "https://eth-goerli.g.alchemy.com/v2/your-api-key"
PRIVATE_KEY = "your-metamask-private-key"
Step 3: Update hardhat.config.js
Now that we’ve added several dependencies and plugins, we need to update hardhat.config.js so that our project knows about them as well.
Replace the contents of hardhat.config.js with the following code:
require('dotenv').config();
require("@nomicfoundation/hardhat-toolbox");

const { API_URL, PRIVATE_KEY } = process.env;
module.exports = {
   solidity: "0.8.4",
   defaultNetwork: "goerli",
   networks: {
      hardhat: {},
      goerli: {
         url: API_URL,
         accounts: [`0x${PRIVATE_KEY}`]
      }
   },
}
Deploy your project
Step 1: Write the deployment script
Now that our contract is written and our configuration file is good to go, it’s time to write the contract deploy script.
Navigate to the scripts folder and create a new file called deploy.js , and add the following code:
const hre = require("hardhat");

async function main() {

  const factory = await hre.ethers.getContractFactory("AwesomeGame");
  const [owner] = await hre.ethers.getSigners();
  const contract = await factory.deploy();

  await contract.deployed();
  console.log("Contract deployed to: ", contract.address);
  console.log("Contract deployed by: ", owner.address, "\n");
  console.log("Tokens have been minted successfully!");
}

main()
  .then(() => process.exit(0))
  .catch((error) => {
    console.error(error);
    process.exit(1);
  });
Run the script using the following command:
npx hardhat run scripts/deploy.js
You should see output that looks something like this:
Contract deployed to:  0x5FbDB2315678afecb367f032d93F642f64180aa3
Contract deployed by (Owner):  0xf39Fd6e51aad88F6F4ce6aB8827279cffFb92266

Tokens have been minted successfully!
Notice that every wallet we marked as eligible to receive an airdrop now has an NFT balance of 1. The owner/creator of the project was responsible for minting all the NFTs as well as paying the gas fees associated with it.
Step 2: Deploy the contract to Goerli
Now, let’s deploy our contract to a real testnet. In the terminal, run the following command:
npx hardhat run scripts/deploy.js --network goerli
If all goes well, you should see the following output:
Contract deployed to:  0x45507BB785E7146115b7714624F80BBB5604eCAA
Contract deployed by:  0xc361Fc33b99F88612257ac8cC2d852A5CEe0E217

Tokens have been minted successfully!
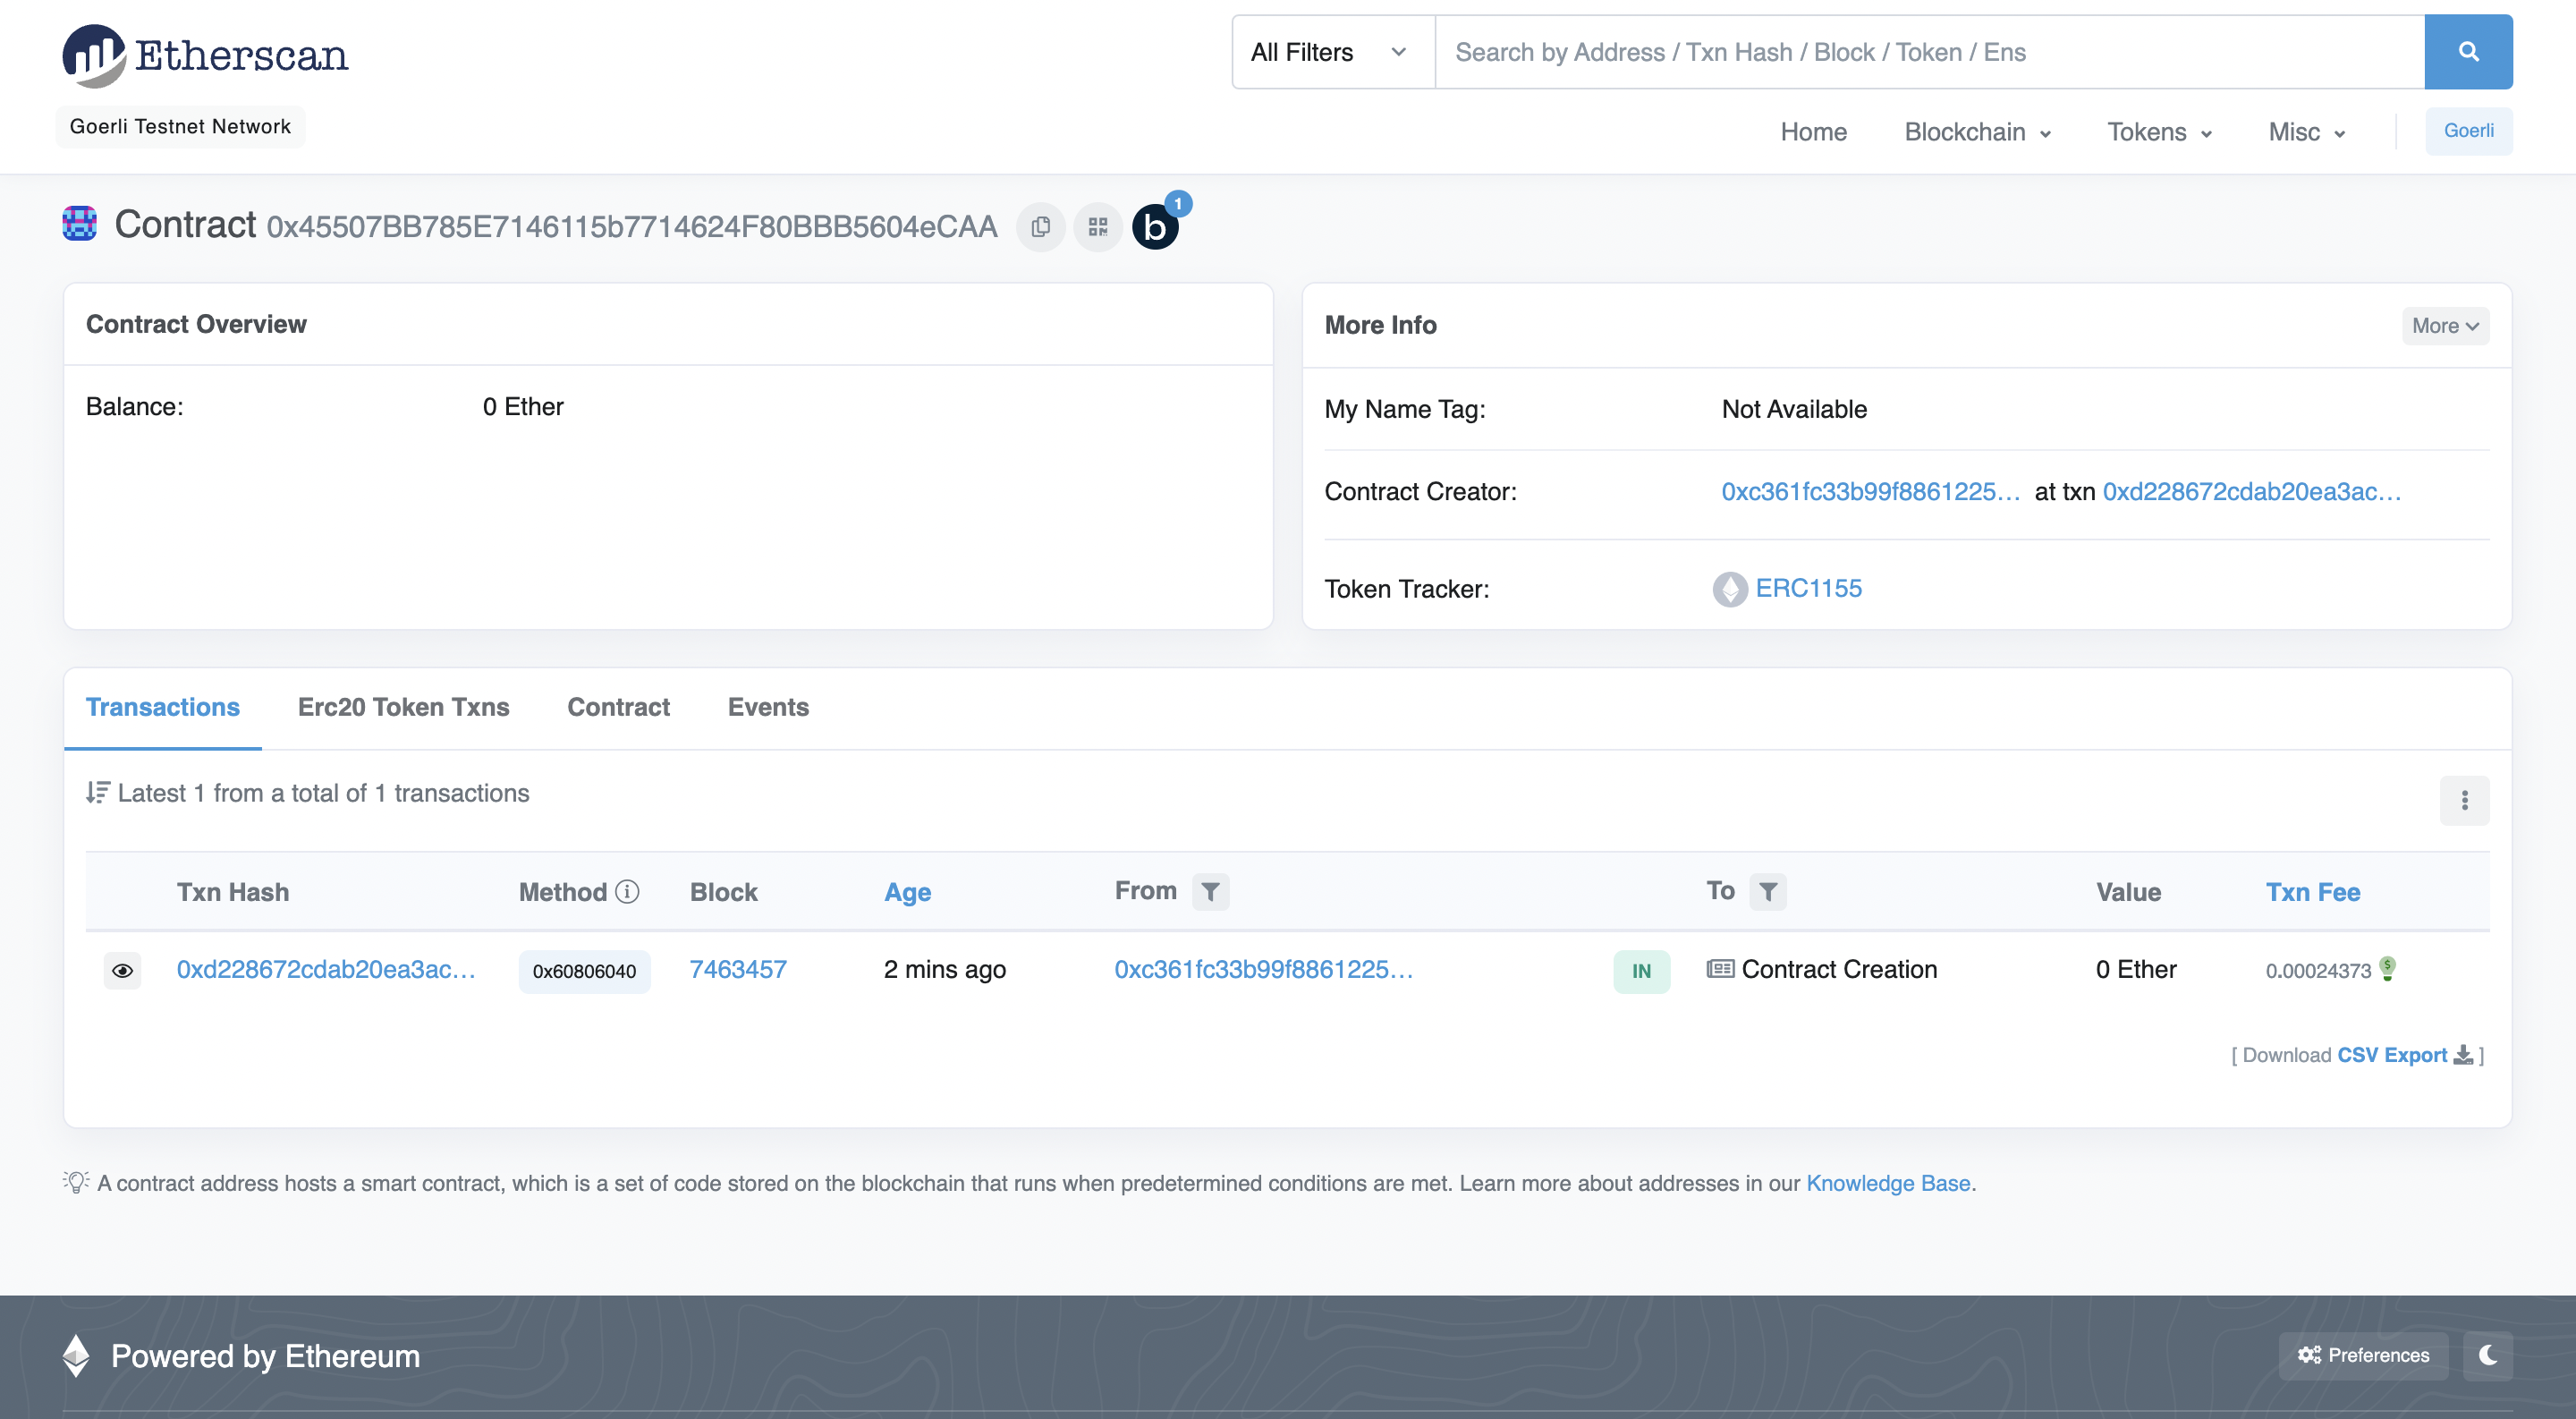
Our contract is live on the Goerli net and we can check this out on Goerli Etherscan by searching for the contract’s address.

Contract page on Goerli Etherscan
Conclusion
Congratulations! You now know how to create and deploy ERC-1155 contracts. In a future tutorial, we will explore how to configure metadata using Pinata and IPFS, and view our tokens on OpenSea.
If you enjoyed this tutorial about creating on-chain allowlists, tweet us at @AlchemyPlatform and give us a shoutout!
Don't forget to join our Discord server to meet other blockchain devs, builders, and entrepreneurs!
Ready to start building your next web3 project?
Create a free Alchemy account and do share your project with us!
Updated about 1 year ago
